02/11/2015 — No Comments

Augmented / Virtual Reality Command Centre Concept

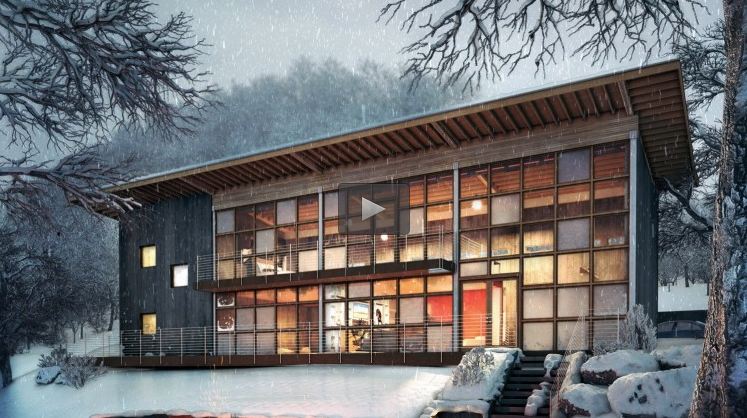
New tech excites me, and this augmented / virtual reality project created for BAE Systems is something I'm massively impressed with. In an episode of Click, a BBC tech based show, they look at how augmented and virtual reality work in partnership to give the user a huge amount of control by immersing the user into a virtual world.

The video can be watched on the iplayer here -

http://www.bbc.co.uk/iplayer/episode/b06bbm1g/click-05092015

The command centre uses a mix of new technology, with perhaps the most recognisable tech being the Oculus Rift (the large head set), but the command centre also takes advantage of gloves, cameras, and other interfaces to allow the users to view, control and interact with the virtual world.

VR AR Command Centre Virtual Reality Augmented Reality

Mixing virtual reality with augmented reality has been used to great effect, in this case the wooden table is used not only to project the virtual world onto, but also to give the user something real to touch. I imagine it's also very useful for resting the users hands, as hovering in mid-air can soon become quite tiring.

VR AR Command Centre Virtual Reality Augmented Reality

The augmented virtual world is mainly projected onto the table, however other 3D objects are visible away from the table, such as the fighter jet, and the personal assistant.

VR AR Command Centre Virtual Reality Augmented Reality

The software developed for the command centre is perhaps the most impressive part of the project, and gives us a brief look into what's possible. In this demo the user can quickly see live video from the real world scene, but the view could view anything they need, from drawings, to written reports.

VR AR Command Centre Virtual Reality Augmented Reality

The video also glimpses at another peice of tech which I love, and that's 3D scanning. In the video the command centre can see real-time updates from 3D scanned data. Presumably the area is scanned with a drone, and the point cloud data transmitted back to the virtual world.

VR AR Command Centre Virtual Reality Augmented Reality

If you're interested in this kind of tech, watch the video, it's seriously impressive stuff! I can't wait until this kind of project becomes mainstream, and eventually the norm, until then I'll just have to keep tinkering and experimenting with my own virtual worlds!

Dean


22/10/2015 — No Comments

Stock and Custom 3D models in CGI Visualisations

Throughout my CGI work, the scenes I create will be primarily populated with the building or product, but to set the scene props, landscapes, entourage, etc are added. These items, big or small have to be created and added to the 3D scenes.

Sometimes we use stock 3D models, which are very similar to stock photography. There are websites where you can download a wide variety of 3D models ranging from costing nowt, to hundreds of pounds. Once downloaded, the 3D models can be dropped into a virtual scene and used within the visualisation or animation.

With the majority of my projects I will 3D modelling various parts of a scene. In architectural visualisations I will model the buildings, landscape and other items, then populate the scene with stock library items such as cars and trees. I do this simply because the stock models available for foliage and vehicles is pretty extensive, and it would be counter-productive for me to start modelling these items, which could make the final cost of the CGIs too expensive for many. A collection of 10 cars can be purchased for a few hundred pounds, where as for myself to 3D model just one car would take at least a week, which makes a typical architectural visualisation just too expensive and time consuming.

architecture_nb_shot_2_final_1600Stock foliage used within a custom 3D modelled environment.

With interior visualisations and digital room sets, I find myself using less stock 3D model, in favour of hand creating custom items. My preference to do this has many factors.

  1. Trends within interior design changes on a monthly basis, and as such many of the stock 3D items are dated, and have sometimes been created years ago. This is OK for the design classics, but for items that change with the seasons it's not ideal, and can really impact on the final image.
  2. I can create almost any item in 3D, without it impacting on project costs or time too much. 3D modelling can be very tricky, and getting items to look realistic can also be hard, if not impossible for some, however when I started in the CGI industry over a decade ago (ouch), my speciality was 3D modelling, and doing it fast and good! Over the years I have continued to build on this core skill, evolving processes with every year, taking advantage of new techniques and software to be able to quickly create virtually anything.
  3. Purchasing 3D models from stock sites isn't always straight forward, first you have to find the right model, at a good price (I am a Yorkshireman after all!), and then trust it's OK to use. Then once I've bought the models, approximately 50% of the time the 3D models will need adjustments such as re-scaling or fixing errors, and nearly every time I need to check the 3D model material finishes to be in-line with my techniques and processes. This can be time consuming, and could also become costly.
  4. If I create the 3D models from scratch, I know the models are good, correct and error free. Maybe I'm not very trusting, or perhaps I just have faith in my own skills! Either way I know when I've 3D modelled an item that it's going to look good in the image, and if it doesn't look quite right, I know how to break it apart and improve it.
  5. The final advantage of creating custom 3D items is that they belong to me! I will add items to my personal library for future use, and I will also re-sell the 3D models though my TurboSquid account to other folk. I must admit I don't receive much in the way of sales, but it pays for my dropbox account at least!

Franke Sink Tap 3D Model CGI Kitchen

Franke sink and tap created from a handful of photos and dimensions.

Franke Sink Tap 3D Model CGI KitchenA wire-frame shot showing the 3D construction.

Although creating the 3D models from scratch has it's advantages, it also has its disadvantages. Some items can be very difficult to re-create in 3D. Items such as cloth, plants, and other organic forms can be tricky, so much so that it's not uncommon for these type of items to be photographed in the studio, and super-imposed into the CGI in post-production. This is purely a time-saving technique, anything can be created in 3D, it's generally a matter of how much time is available to complete a job.

modelling_toaster_dualit_01_1600

Dualit toaster, available to buy on TurboSquid

Other disadvantages could be that an items has little information or imagery to create an accurate 3D model. For example it's quite rare to find a piece of furniture photographed from every angle, instead usually the only reference is an angled photo, and generally the photograph will be of medium - low quality or resolution. So to create the furniture does require some educated guess work, and as such can't be too accurate. Clients will sometimes be able to physically send items to be turned into 3D models, which means a greater accuracy can be achieved, and is generally the only way to be certain of getting the 3D model just right.

Although I do find creating 3D models from scratch very useful, sometimes I do purchase 3D models. For interior room sets, I will often pick items from Design Connected, and occasionally TurboSquid and 90% of the time I'll be happy with the purchases. Purchasing these type of models will help speed up the process, which is very useful on projects where time is limited.

Both buying and creating 3D models has its advantages and disadvantages, and the majority of the time the decision to buy or make is made on a project by project case. As I've mentioned cost and time are two factors, however if possible I will always aim to use items I've created myself, this ultimately helps keep my work fresh, up to date and unique.

Dean

19/10/2015 — No Comments

WutheringBytes 2015

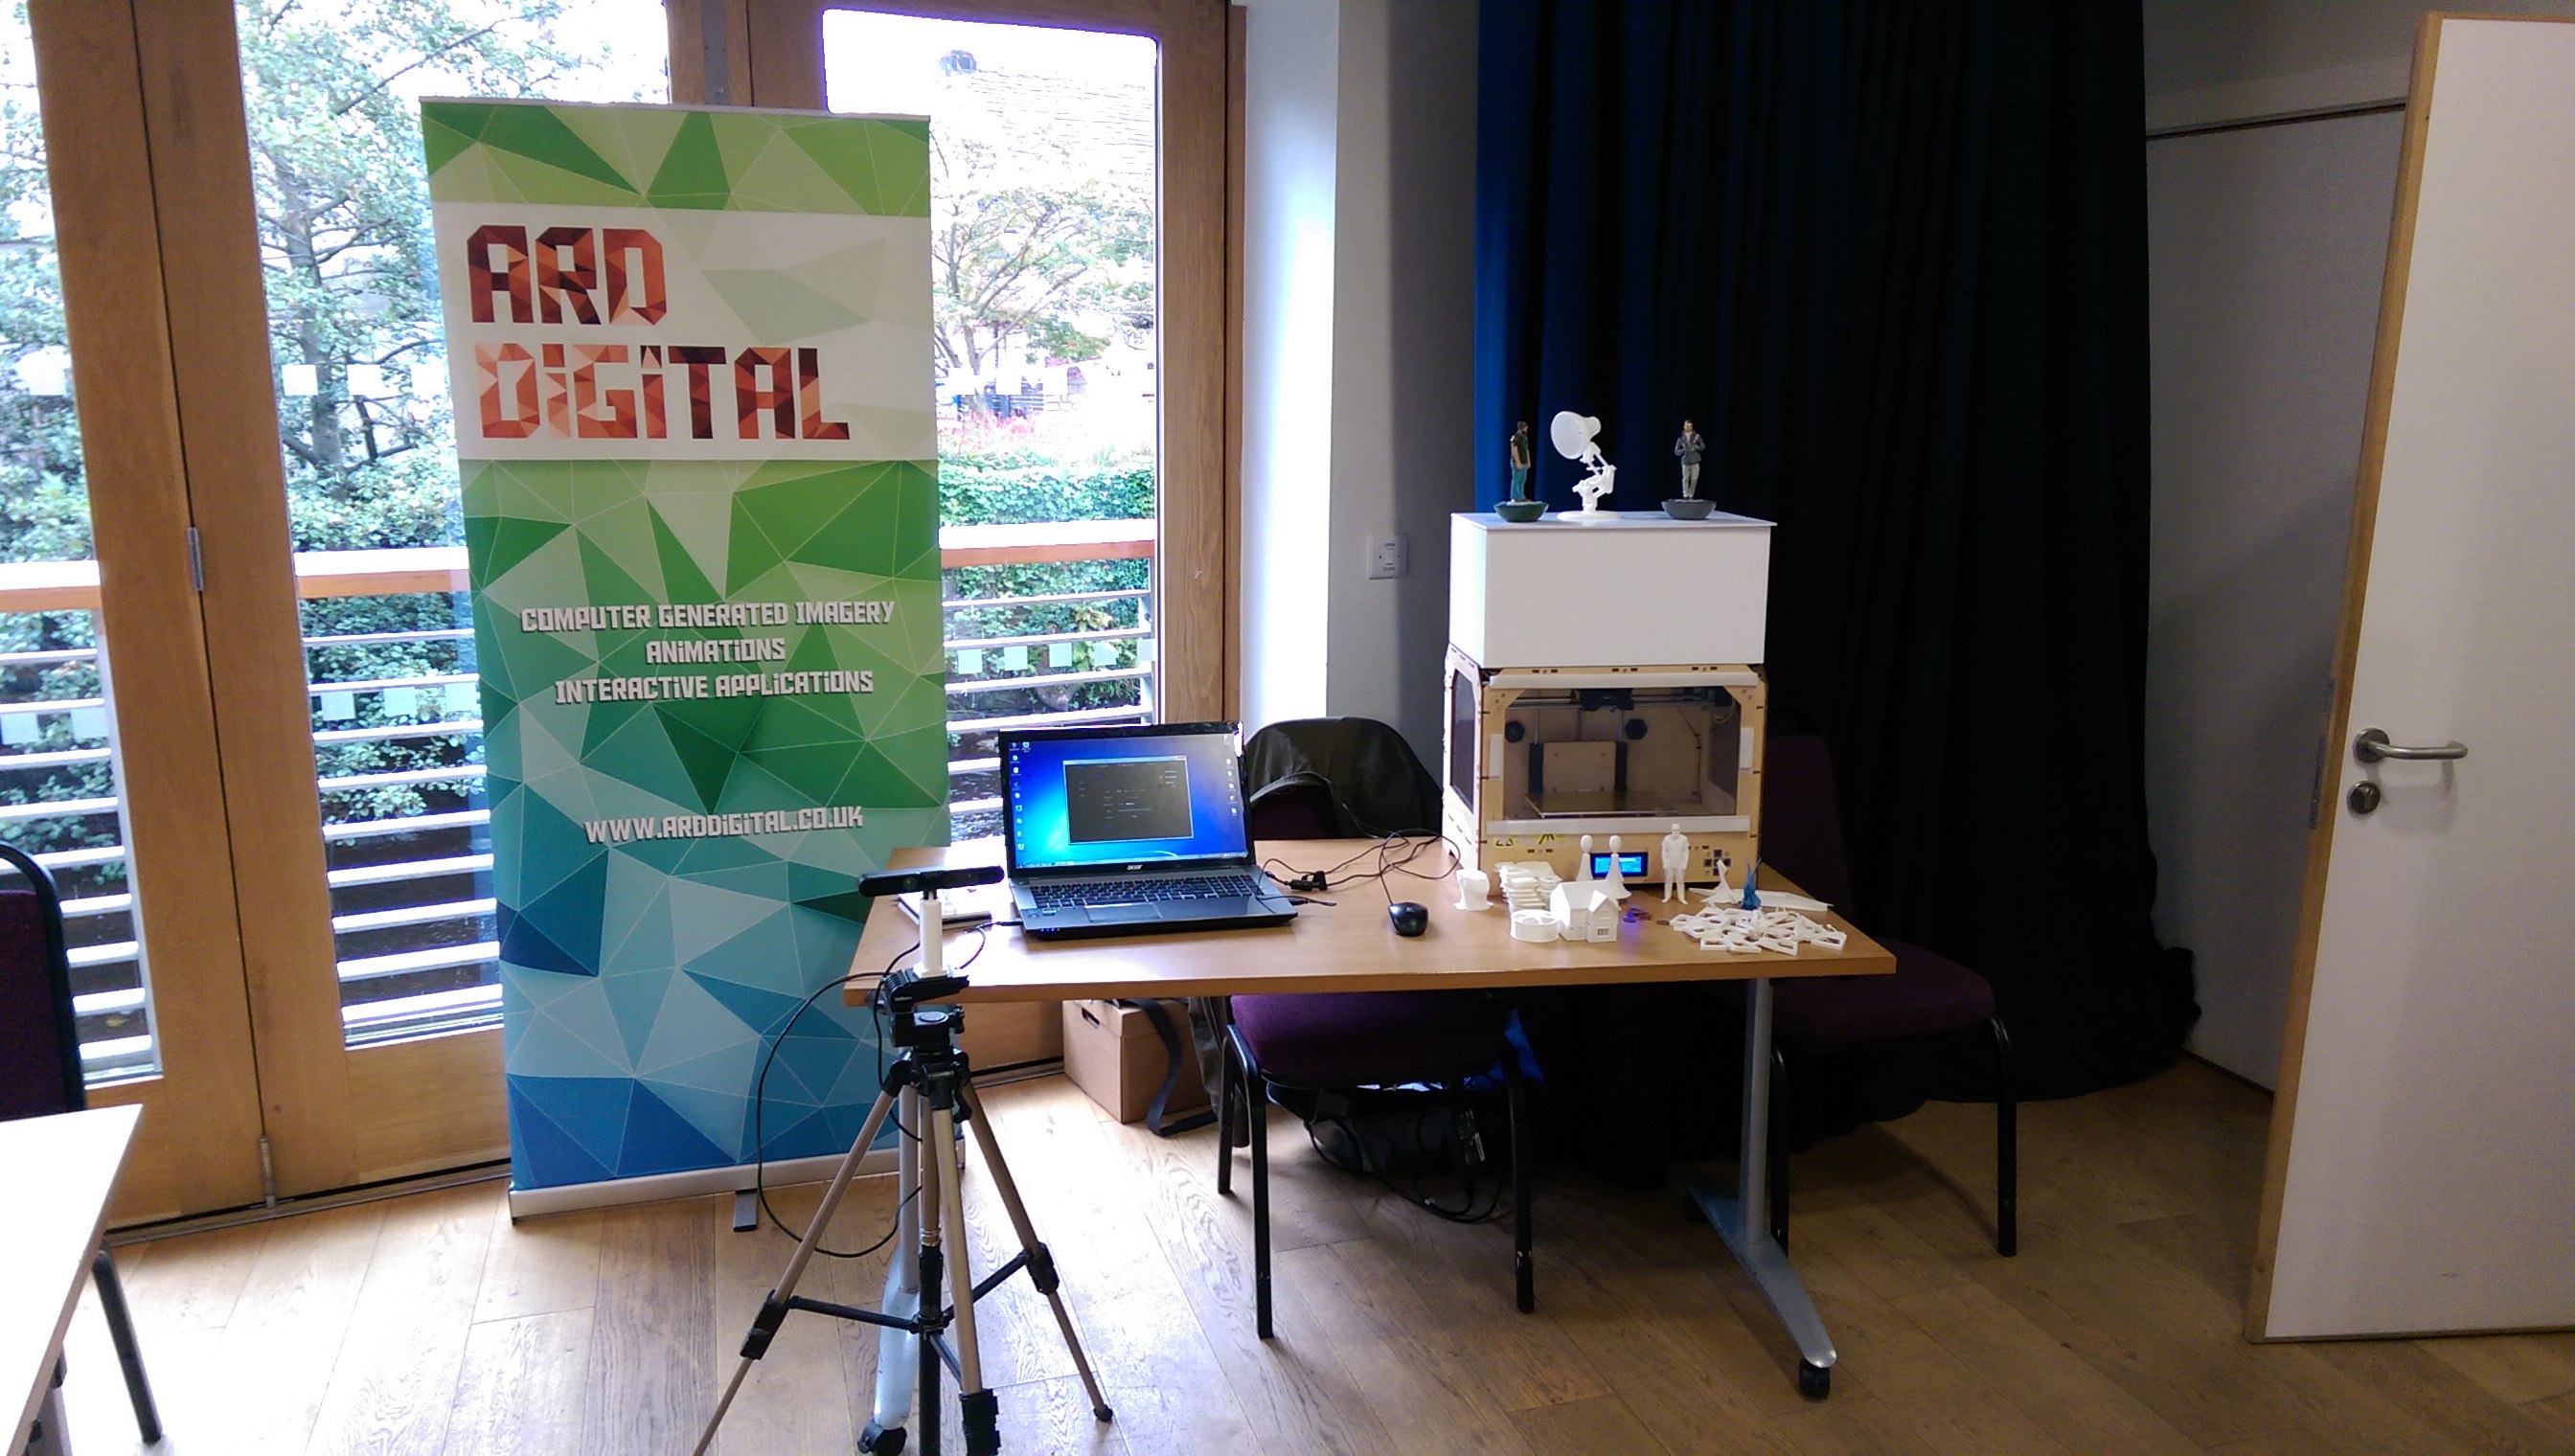
A couple of weeks ago I attended WutheringBytes over at Hebden Bridge to demo, show and explain 3D scanning and 3D printing.

WutheringBytes was set-up by Calderdale Council, to allow the public, companies, and anyone else to learn, engage and be a part of various technologies from numerous individuals and organisations. The wealth of technologies within our local area is fantastic, and I hope this event help to open people's eyes to just what's out there.

For my part in the event, I ran a 3D scanning and 3D printing demo. Through out the day I scanned anyone who wanted a go at turning themselves into digital versions.

3d scan scanning print printing

3D printer and scanner ready to go!

The response to the 3D scanning was fantastic, people couldn't wait to be scanned, and see themselves in digital 3D form! The scanning takes a few minutes, and as such the person being scanned has to stop completely still, which is harder than you'd think! The best response to the scanning was from the crowds of primary school children, who all wanted a go!

3d scan scanning male

A 3D scan from the day.

I will be sending the 3D scans to each person once I've had chance to sort and tidy the 3D files, and if they agree, I'll upload the scans so anyone can print or play with the 3D files.

I also gave away 3D printed bottle openers, some freshly printed that day. A penny coin slips into the bottle opener to give a hard edge to stop the plastic from breaking.  This is actually the last one I have from around 100 being printed! There's also the same bottle opener, but has ard Digital logo incorporated. I must print a few more!

Blog_WutheringBytes_3

3D printed bottle opener.

So that's what I got up to at WutheringBytes, be sure to keep an eye out for next years do, I'm sure it'll be a good one!

Dean

19/10/2015 — 4 Comments

Udemy 3ds Max & Vray Arch Vis course coupon for FREE access

The guys over at Udemy have given me 50 free coupons to allow my lucky followers to receive this course for free!

https://www.udemy.com/intro-to-architectural-visualization-using-3ds-max-and-v-ray_zillus/#/

The course is aimed at beginners, but as always there might be some tips and tricks even the seasoned pro's might have missed.

AD15_Blog_Udemy_Course

To receive the coupon, all you need to do is subscribe to the ard Digital newsletter, and in the comments section of the sign-up form type "free course", and I will then email the coupon code to the lucky first 50 subscribers!

Dean

02/09/2015 — No Comments

The Blanks ready to download and 3D print on Thingyverse

As part of the constant tinkering and testing with 3D printing, I have released a free download of 2 little characters I have created. "The Blanks", as I've named them, are two little characters, 10cm in height, with no real distinguishable features, perfect for a blank.

The 3D models have been uploaded to Thingiverse, click to go to the website to download them for free.

But what is a blank? MakerBot released Zee Blank, and the concept is to 3D print your own blank, and modify it however you please. Some of the creations on the Makerbot site are brilliant! The concept behind The Blanks is the same, print the 3D models, and then modify, paint, customize to your hearts content, then share your creation with the world.


the_blanks_print_01
The Blanks, 3D printed and awaiting customization.

I wanted to create The Blanks as an alternative to Zee Blank, as I felt Zee Blank is just too big, and very masculine in form. I created the couple as a male / female combination, but either could be modified to what ever gender you like.


the_blanks_screen_grab_01
The 3D model is set-up ready to print.

The Blanks are printed in several parts, which then fit together perfectly without the need for glue. Ideally the prints need to be sanded first, then painted to give a nice finish, or alternatively you could use a high build-up primer to give a smooth finish. The choice really is yours, and I can't wait to see how The Blanks will be modified. I will be having a go myself very soon, please don't laugh at my below average painting skills, I'm far more capable with a mouse and keyboard than a brush and paint!!

In the future I plan to release "add-ons" for The Blanks, maybe some new shoes, different heads, and possibly other props too. Let me know what you'd like to see added, and of course let me know if you have any comments! Follow me on Thingiverse here and of course sign up to the mail list to hear of the latest releases and info.

Also send me pictures of your creations, I'd love to feature them on the blog too!

Dean


11/08/2015 — No Comments

Nice to work on local CGI projects

Usually the work I produce is from way outside Yorkshire (my current record is California!), so when projects come along that are literally just up the road it's always nice grab the project and get stuck in.

Recently I finished the 315 Bar and Restaurant project, for which I created a CGI to show the proposed development of the existing building. At the start of the project I met on site, where the work had already begun, and immediately felt I knew more about the project that just looking over drawings and sketches.

architecture_315_final_image_01_1600

Architectural visualisation of the proposed building.

The site was full with machinery, workmen, offices, but if you looked beyond this you could see the surroundings, the existing buildings, the trees and much more, which really helped when creating the final illustration. I also took a camera, shot numerous reference images, and referred back to these during the project. To match the stone texture to the existing building, I even photographed a stone wall of the building, and then re-created this to use on the 3D model.

Finally, it's also great to meet a client, via a short journey, especially when the drive is out into the lovely Yorkshire countryside on a sunny day!

I love local projects, and I'll be sure to drive out there when it's complete, even if it is just to compare the CGI to the real thing!

Dean

10/08/2015 — No Comments

Interactive Car Configurator Demo Now Online

Over at our sister website, www.constructandconfigure.com, we have been busy putting together our third showcase demo interactive application using the Construct and Configure Interactive Application. In this demo we used the existing application, but decided the push the number of options and configurations by showing how the app could be used to visualise a vehicle, in this case a Mini Cooper, a car of which I've admired since it's release 15 years ago.

Interactive CGI car vehicle interior configurator application

Configure the Mini Cooper on any device.

In the app you can configure the paint colours, wheels, brake calliper colours and much more. Creating this app was slightly more complicated to create than the kitchen configurator and the furniture configurator simply because of the number of options. We could have added more options, there are no limits within the application its self, but felt the number of configurations possible (27216 unique configurations to be exact) was enough to give a taste of how powerful the application can be.

ad15_mini_cooper_configurator-1024x767

Visit the app website to test the configurator.

We also wanted to showcase the layering of the various CGI elements and options. For example the decals sit perfectly over the paint work, and the brake callipers sit under the wheels, all of which is reflected perfectly on the floor. OK we like to show off, but we're proud of what we've created, and we feel this demo shows the potential it has to showcase any product.


In other Construct and Configure news, development of the Share function has begun, and will hopefully be complete in a few weeks time. We're really excited by this, as the Share function will make it extremely easy to share configurations with friends, family and anyone else via email and social media, which in turn will raise the profile of the products.


If you'd like to know more about the configurator, please don't hesitate to get in touch.


Dean


06/07/2015 — No Comments

Creating an alloy wheel in 3Ds Max

Many of the 3D models used inside my scenes and environments are created from scratch, either from drawings, sketches and even photographs. This always helps projects to feel unique and different from other studios and work, and ensures images aren't restricted by stock 3D libraries.

This quick video time-lapse shows the creation of an alloy wheel for a future project, and gives a brief insight into how I create custom 3D models, from the simplest of information.

Dean

11/06/2015 — No Comments

May Design 2015 – Personal Highlight – Randonneur Chair

Last month I visited May Design by the London Docklands, and what a cracking exhibition it was. I had never been before, and although I had read the website and see the previews, I wasn't entirely sure what to expect. True to its website, there was a mix of furniture, interiors, kitchen, bathroom, fabrics, and much more.

I found so much inspiration from all areas of the exhibition, and met many people, but one piece which really stood out for me was the Randonneur Chair.

randonneur-chair-1

I stumbled across this fantastic retro cycle inspired rocking chair in the new designers area, surrounded by other great new pieces I must say. The chair is unlike any rocking chair I have seen, and perhaps with my recent interest in cycling (I ditched the car for a cycle over a year ago to commute), I was drawn to this chair like a magpie to something shiny! Saying that though, it isn't that shiny, it's much softer, and inviting. The mixture of fabrics, wood and metal (Reynolds 631 tubing, as used on cycles) compliment each other brilliantly, it really is a thing of beauty!

randonneur_chair-1

The curved handle bars are the most obvious reference to the bicycle, as are the bottle holders, however once you examine the form you'll see more similarities with the bicycle. The front "leg" of the chair, and the two connecting bars are directly inspired from the cycles front frame and forks. Also the leather bag on the rear of the seat could easily be a retro style saddle bag.

randonneur-chair-2-1

The attention to detail on this chair is amazing, and really has to been seen to fully appreciate the craftsmanship in creating a chair like this. Sadly I didn't get the chance to sit in the chair, but perhaps, as with many great chairs, you could sit in it, but it's far better to stand and simply view the chair as a work of art.

Please head over to www.twomakers.co.uk to know more about this chair, and the two guys behind it!


I'm off for a ride,

Dean

05/06/2015 — No Comments

Interactive Configurator Launched

Over the past few months, I have been working with a web development team to create a new interactive application, which utilises the flexibility of CGI with some web programming magic. We wanted to create an application to allow users to interactively configure anything, then share, save or print their configuration.

The application has been given it's own brand new website, check out www.constructandconfigure.com to see what all the fuss is about, and to play with the two demo applications.

The application is a "configurator" and has been designed to enable users to change finishes, features and other options by clicking on buttons to access menus. In the kitchen demo, the user can change the kitchen finish, the door handles and the worktops, but almost any visual element of a product, space or architecture could be configurable. In the kitchen demo we could if we wanted to add the ability to change the appliances, the stools, or even the floor and wall finishes. This is one reason why using 3D is great, we can create these CGI variations quickly, store them digitally, and present them in a way which is quick and easy for the end users to see.

The interactive kitchen demo application.

The application has been designed to work on most modern devices, PCs, laptops, tablets, smart phones, iPads and anything else with a modern web browser and a reasonably fast internet connection. We wanted to make the application accessible to as many people as possible, so it made sense to make the application run inside a web browser, without the need for any software downloads.

As standard, we have added 3 features to the app, save, print and share. The save button will download an image, overlaid with a description of the configuration, to your device. The print function simply prints the configuration, and again with a description so you know exactly the chosen configuration. The share button is perhaps the most complex function, but something we felt was required to allow users to share their configuration quickly and easily. When the user clicks the share button, a pop up window is displayed with a unique web address. The user can then highlight, copy and paste this address to Twitter, Facebook, email or anything else. When the address this then re-opened in a web browser, the users configuration is displayed. For this app we wanted to avoid user log-ins and passwords as we wanted the experience to be fast and user friendly, and using a unique web address works perfectly.

The app works on touch screen devices, as well as a traditional mouse.

We see this app to be primarily used to visualise and configure products. A sales team could use the application to show potential buyers the various configurations of their product, which may help the buyers visualise their potential purchase, and hopefully secure a sale. Similarly the app could be used in show rooms, where it's physically impossible to show all the product variations, but with the app customers could quickly and easily see any configuration they wish.

The application could be used by housing developers to show potential house buyers their new home, and then allow them to choose fixtures and finishes, which many house builders now allow. The possibilities for the app is limitless!

Use the app on the go, but be careful using it on 3G or 4G as data charges may occur!

The application has been fully custom made to suit our requirements. We did this for one important reason, we can modify, change, or add features to the application when required. The application is web based, and with the advances in HTML 5, more and more is possible. As an example we could add a clip board, user log-in, or even link the app with an e-commerce website allowing the users to purchase directly from the app.

View the configurator anywhere.

Currently the configurator doesn't allow the user to build products, they can't alter the kitchen layout for example, but this isn't why we created this application. In order to visualise the products in a photo realistic manor, the app uses pre-rendered CGI images, layered on top of each other to create the users configuration. Advances in real-time visualisation has shown we can create almost photo-real visuals using technology such as Unity 3D or the Unreal game engine, however using this kind of software means the users have to download plugins or software suitable for their device, which is something we didn't want to do. In the future I'm sure this will change, but for now we believe our current approach is the best way!

So head over to http://www.constructandconfigure.com and play with the application demos.

If you have any questions or comments about the configurator, please get in touch!

Dean

LIKE WHAT YOU SEE?

WANT TO KNOW MORE?

USEFUL LINKS

Site Map
Privacy Policy

Punch Infinity
Switch
Archive
Contact
Subscribe

INSTAGRAM FEED

Wrong or no access token.

PUNCH DIGITAL

Punch Digital Services Ltd

Registered Office :
Peel Walker
11 Victoria Road
Elland
HX5 0AE

Company No:
07938732

VAT No:
GB 282 4398 77